3 Best Hikes In the grand tetons
Here are 3 of the best hikes to do in the Grand Tetons. And I have one for each skill level: one easy, one moderate, and one difficult!
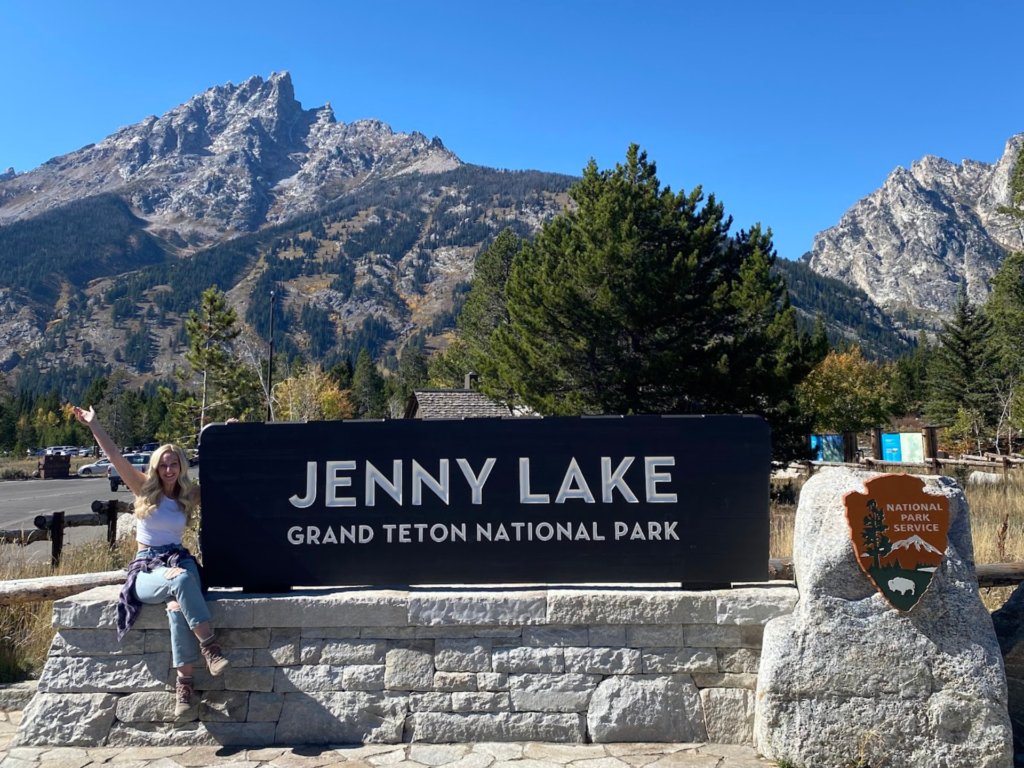
1. Jenny Lake Trail – Easy
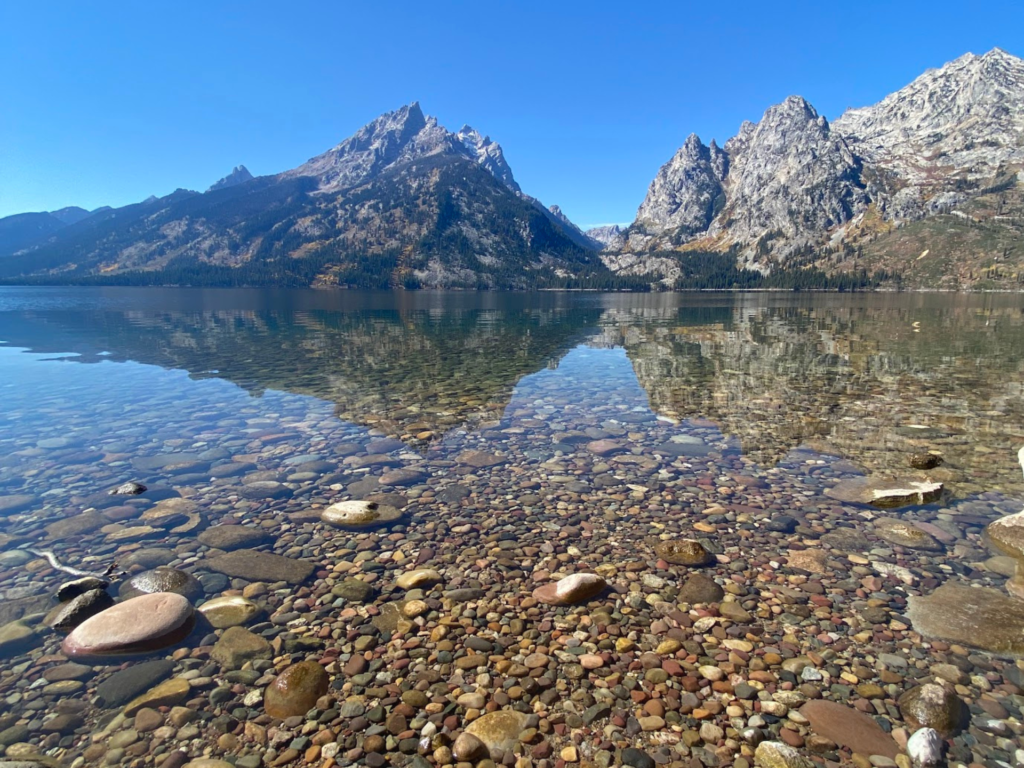
This trail loops around the BEAUTIFUL Jenny Lake. Views all the way around. The distance is the most challenging part of this hike as the elevation is fairly low. More info here.
Distance: 7.2 mile loop
Elevation Gain: 456 feet
Time to Complete: 2 hours 30 mins average
2. Taggart Lake and Bradley Lake Loop – Moderate
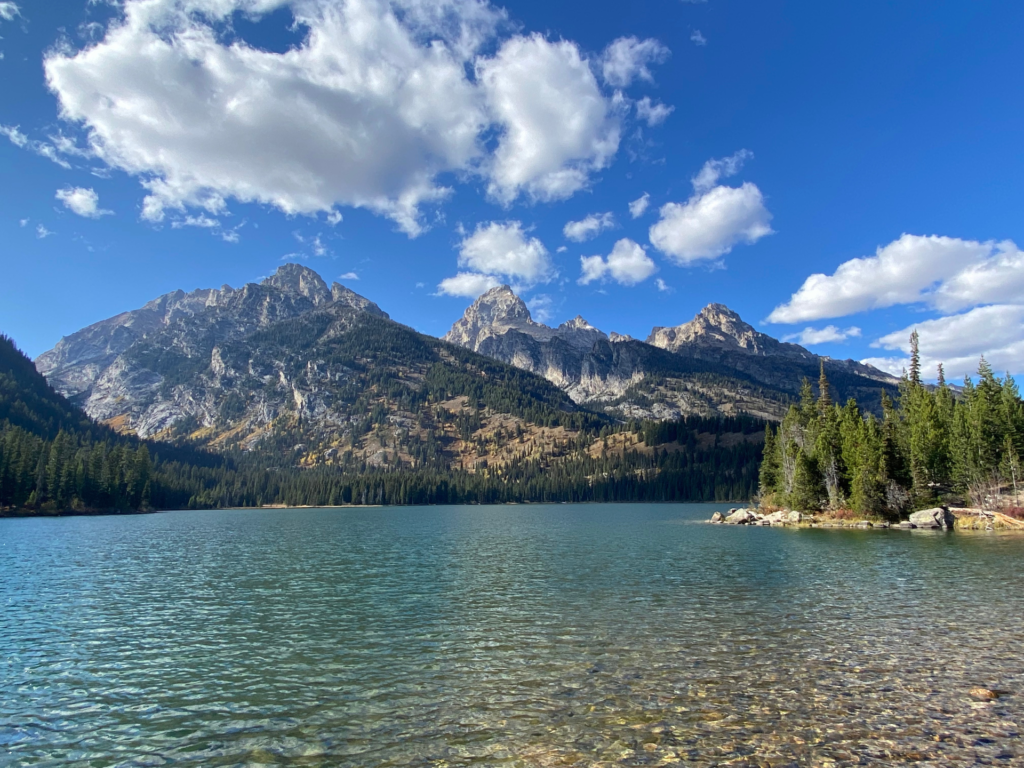
From the parking lot we went on the trail to the right towards Bradley Lake first then to Taggart Lake. With some elevation gain, it was a little bit of a workout but nothing too strenuous. More info here.
Distance: 6.0 mile loop
Elevation Gain: 761 feet
Time to Complete: 2 hour 30 mins average
3. Delta, amphitheater, Surprise Lake – Hard
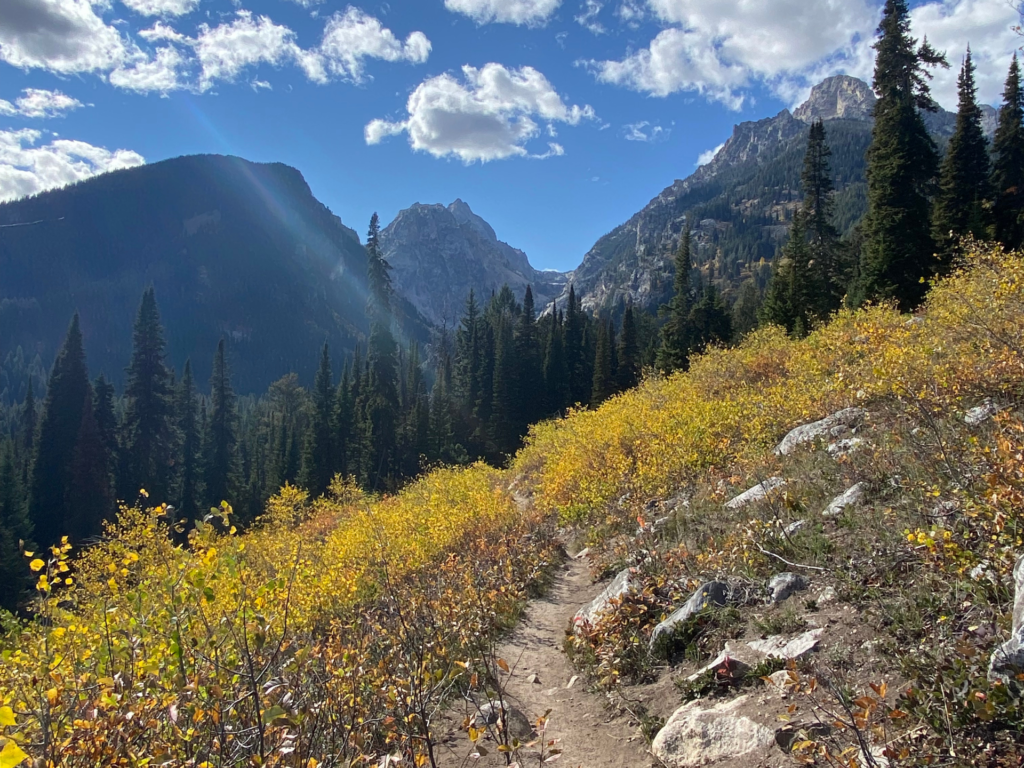
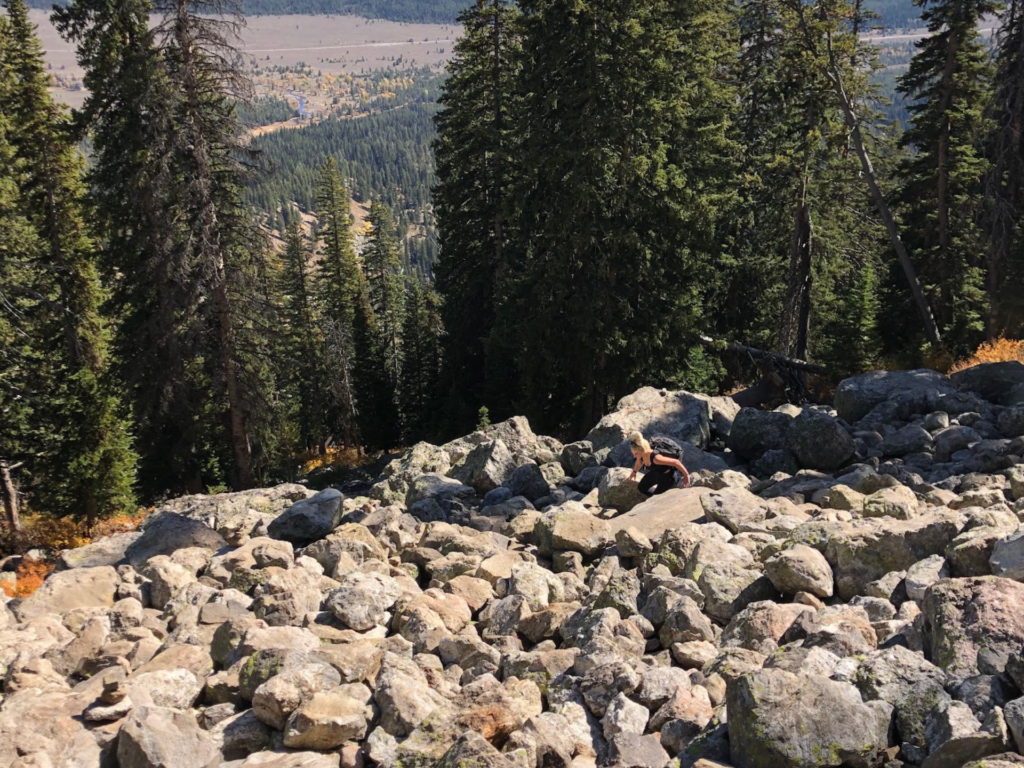
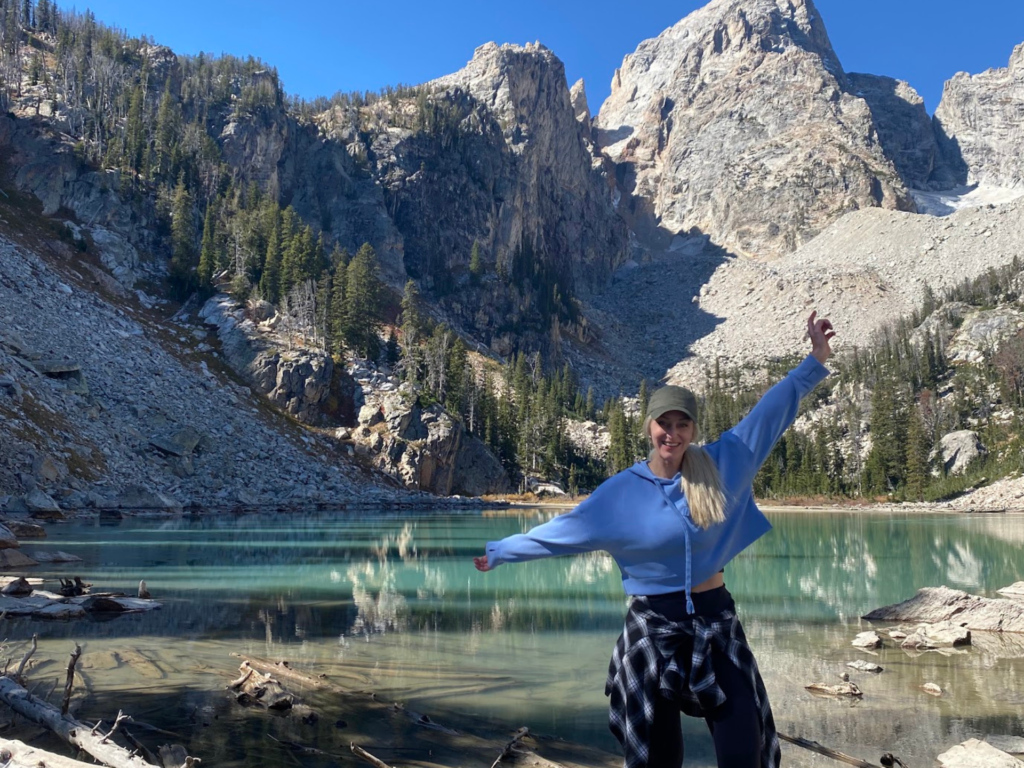
This was a very challenging hike and we could have ended it at Delta Lake but we just had to keep going and continued on to Surprise and Amphitheater Lakes as well. If you only want to do one of the lakes, then do Delta as long as you’re cool with hiking through boulder fields. It has the prettiest/most unique blue color to it that you don’t see very often. I’ll break down Delta Lake first and then Amphitheater/Surprise Lake:
Delta Lake
First off, start somewhat early! We started around 10:30am but normally would start hikes like this close to 8am or earlier.
Part of this hike is not maintained/marked so you need to follow directions closely to actually get to it!
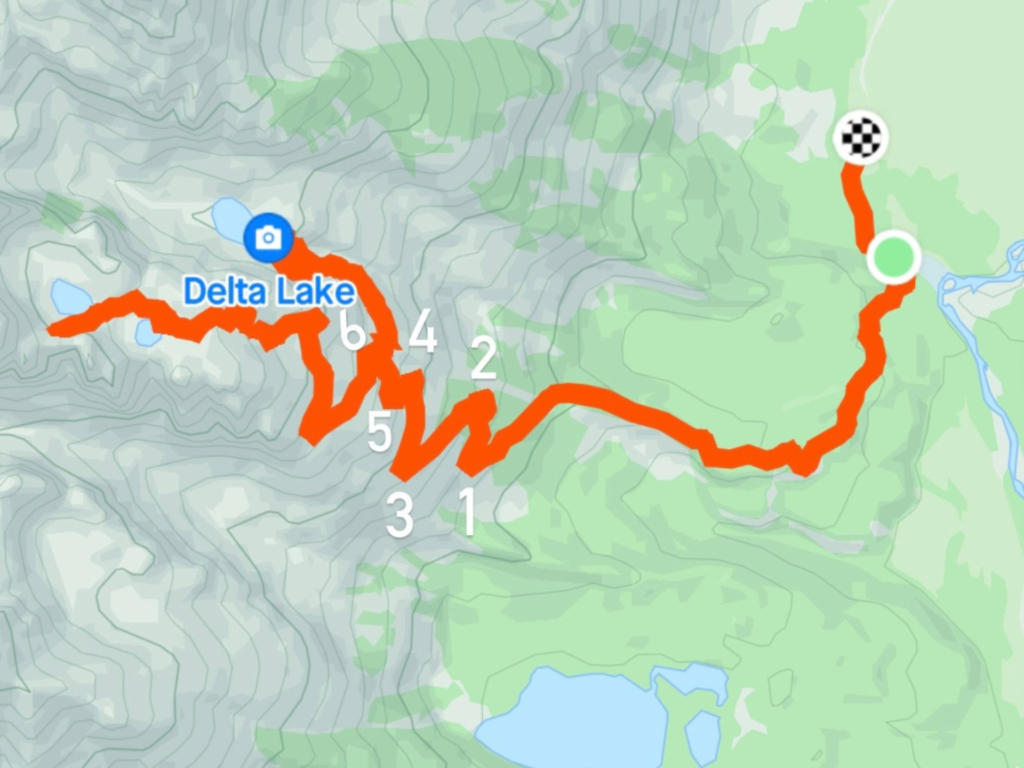
You start this hike at the “Lupine Meadows Trailhead”. Follow the Garnet Canyon Trail (for both of the junctions along the way, you’ll always go towards Surprise and Amphitheater Lakes) and start making your way up its switchbacks. This is where you need to pay attention and count the switchbacks – there’s a total of six until you reach the offshoot for Delta Lake.
At the end of the switchback, look downhill (to the north side of the trail) and you’ll see a set of makeshift steps, that is the “trailhead” to Delta Lake. Once you get down the stairs you’ll follow the trail until you reach the boulder field. At this point, follow the stacked rocks (rock cairns) and keep going up through a couple more boulder fields. And then you’ve arrived!
Distance: 7.4 miles total
Elevation Gain: 2,296 feet
Time to Complete: I really can’t give you an answer on this. We don’t stop much when we hike besides for a couple quick water breaks/breathers so it will all depend on how you like to hike and your fitness level. Like I said, this is a challenging hike so take breaks when you need it!
More info here.
Surprise/amphitheater Lake
If you aren’t feeling like doing boulder fields and going on unmarked trails, then you can continue on the Amphiteater Trail all the way up to Surprise and Amphitheater Lake. Once we got done hiking to Delta we decided, hey, we’re already this far up, why not keep it going and go all the way to the other two lakes and we’re glad we did!
Distance: 10.1 miles (not including Delta Lake)
Elevation Gain: 3001 feet (not including Delta Lake)
Time to complete: 6 hours average (not including Delta Lake)
More info here.
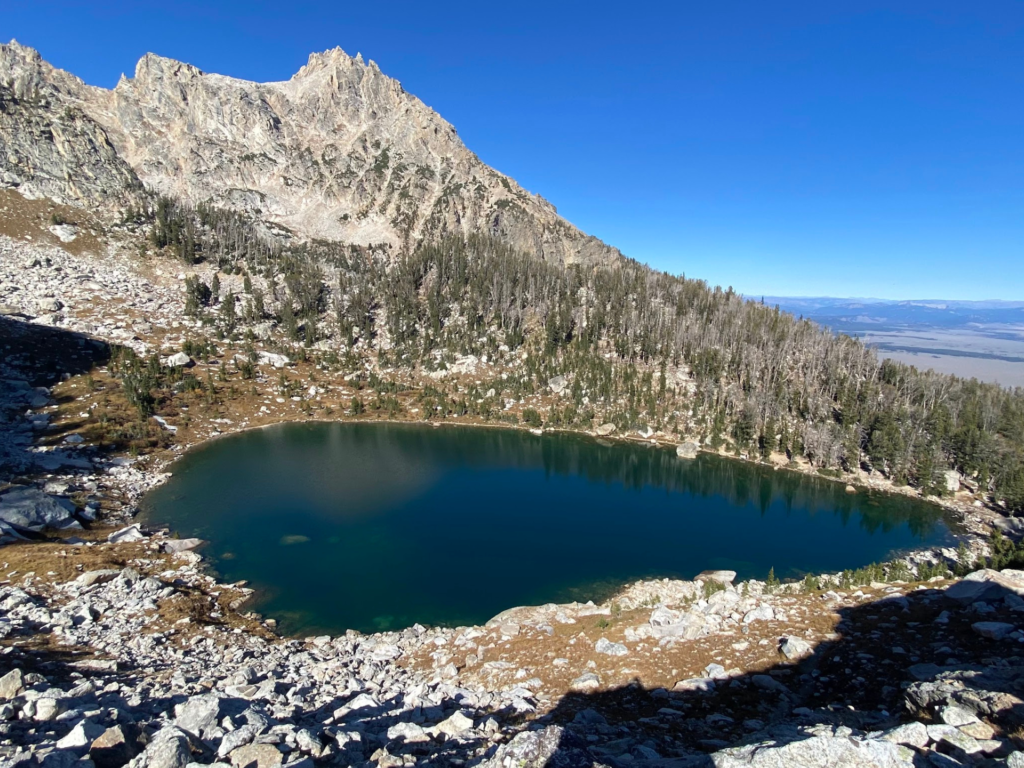
Amphitheater Lake – we did climb up further onto the rocks to get this view but it was pretty sketchy so use caution if you decide to do this:
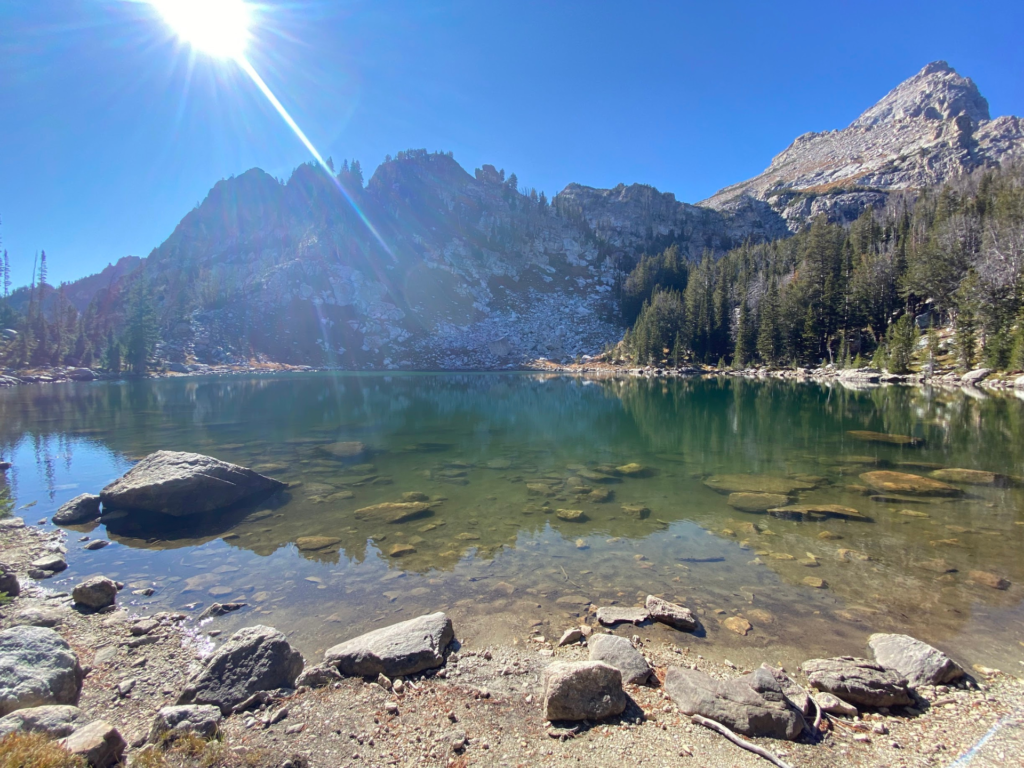
Surprise Lake – It was beautiful but Delta was the best and then Amphitheater!
If you decide to do all 3 lakes, here is what my Strava recorded from our hikes:
Distance: 11.09 miles
Elevation Gain: 3,683 feet
Time: 5 hours of hiking, 6.5 hours in total. We hung out at each of the lakes and chilled for a bit.
