Utah’s Mighty 5 – The Ultimate Guide
Utah’s Mighty 5 consists of 5 National Parks: Zion, Bryce Canyon, Capitol Reef, Arches, & Canyonlands. Visiting Utah’s Mighty 5 is one of the best road trips I’ve ever done! I’ll outline how to take on 5 National Parks in a short amount of time, tips on what to do at each, which ones I wish I had more time in, and the one park I was underwhelmed by.
How to get there
We road-tripped from Minnesota in our camper van so if you’re road-tripping, just put it in Google Maps to either start at Zion or Canyonlands. The route you will take is either Zion to Bryce to Capitol Reef to Arches to Canyonlands or in reverse. If you are flying, the closest major airport to Zion is Las Vegas (2 hours and 50 mins) and the closest airport to Canyonlands is Salt Lake City (3 hours & 50 mins).
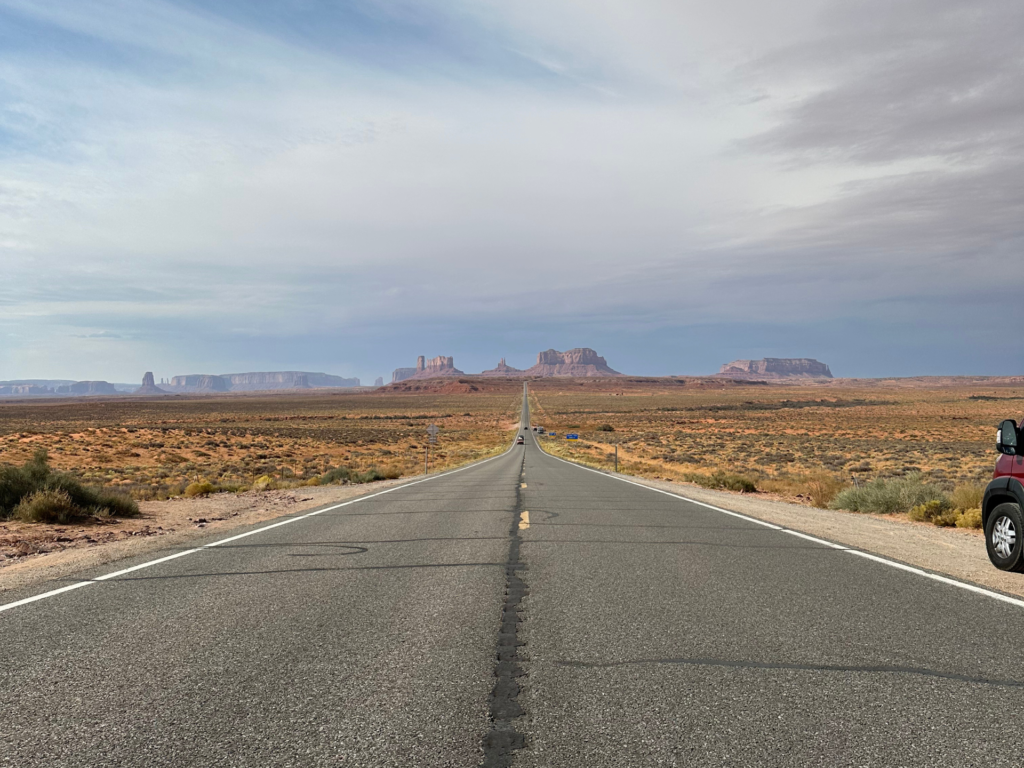
Renting a car
If you are flying in and renting a car but plan on sticking to the National Parks, any car will work. If you want to go on hikes outside of the parks or see some crazy landscapes like Moonscape Overlook, I’d advise you to rent something that’s 4-wheel drive like a Jeep. We took our 2-wheel drive Sprinter Van all over Utah and through some very rough terrain, but there were a few spots we didn’t get to explore because we weren’t positive our van would make it.
Zion National Park
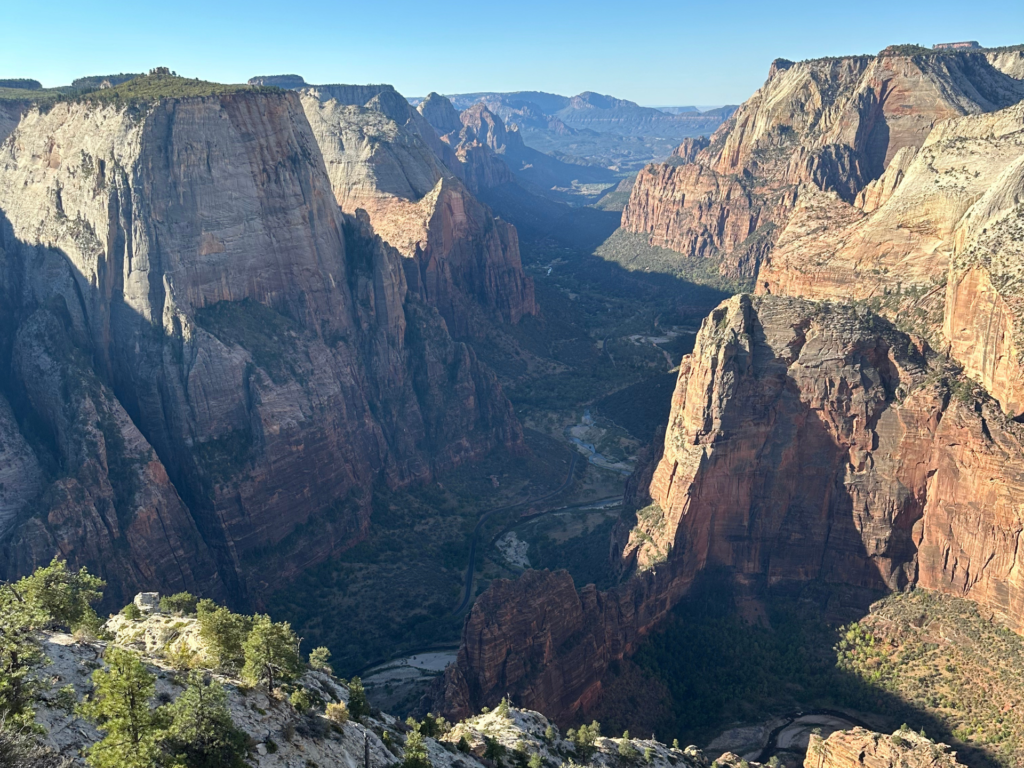
- Need to know ahead of time:
- Cost: A day pass is $35/day & good for 7 days. I’d suggest purchasing the “America the Beautiful Pass” for $80 that’s good for a year at all National Parks in the US!
- Amount of time to spend in the park: 1-2 full days, plan on 2 if you want to do more hiking
- You have to take a shuttle into Zion from March through November and for the holiday season near the end of December.
- Shuttles take 45 minutes to drive between the Zion Canyon Visitor Center and the Temple of Sinawava. A round trip takes about an hour and a half.
- Reservations: No, but make sure you are aware of the shuttle schedule so you can get back to your car if you are there during shuttle season!
- Open: 24 hours a day, 365 days a year
- Hikes:
- Angel’s Landing: A very famous hike that involves walking across a narrow ridge with chains you can hold onto in order to get to the view from the top. This hike is not for beginners, or anyone with a fear of heights or issues with vertigo. You also have to get into a lottery to be able to hike it. You can apply for the lottery months in advance or attempt to get a pass the day before. This hike is dangerous and the lottery is important to keep too many people from doing the hike at once so be respectful of only doing it if you’ve won a pass through the lottery. There are usually rangers checking passes at the hike entrance. Find out more info about the lottery and how to apply here! Full hike details here.
- Distance: 5.4 miles Out & Back
- Level: Hard
- Pack: Lots of water, sunscreen, snacks
- The Narrows: Another famous hike that involves walking through water in a huge slot canyon! Any level hiker can take this on but be sure to check the weather ahead of time. You don’t want to be hiking this when rain is in the forecast because flash flooding can happen very quickly. You don’t need a permit for this hike unless you are doing the day hike that’s Top-Bottom. Most people do the Bottom-Top hike. You have to take the shuttle to the trailhead and it’s the last stop at the end of the park so it takes 45 minutes to get there. I suggest getting to the park early and starting your day with this hike as it gets very busy by mid-morning. Full hike details here
- Distance: 8.9 miles, Out & Back – You can go as far in as you want and turn around. A lot of people only go a mile or two and then turn around
- Level: Easy
- Pack: Water, walking stick or a hiking pole, water shoes, and waterproof pants or suit depending on the water levels and temperature. You can rent gear in the park as well if you don’t have it. Also a dry bag! The water can get pretty high sometimes so there’s a chance it will be up to your chest in certain areas and if you’re carrying a hiking backpack, your things could get wet.
- Observation Point: This hike is outside of Zion and gives amazing views of the entire park including looking down at Angel’s Landing. You don’t have to pay an entrance fee so that’s an added bonus as well! The road to get to the trailhead is pretty rough so an option would be to drive to Ponderosa Ranch and then shuttle to the trailhead from there. We drove our 2wd camper van and did just fine. Also there are only 15 spots in the parking lot so get there early (before 8am) or later morning (after 11am) to hopefully guarantee you a parking spot. You will be ticketed if you park in a spot that says “No Parking”. Full hike details here.
- Distance: 7 miles, Out & Back
- Level: Moderate
- Pack: Water, snacks to enjoy at the viewpoint!
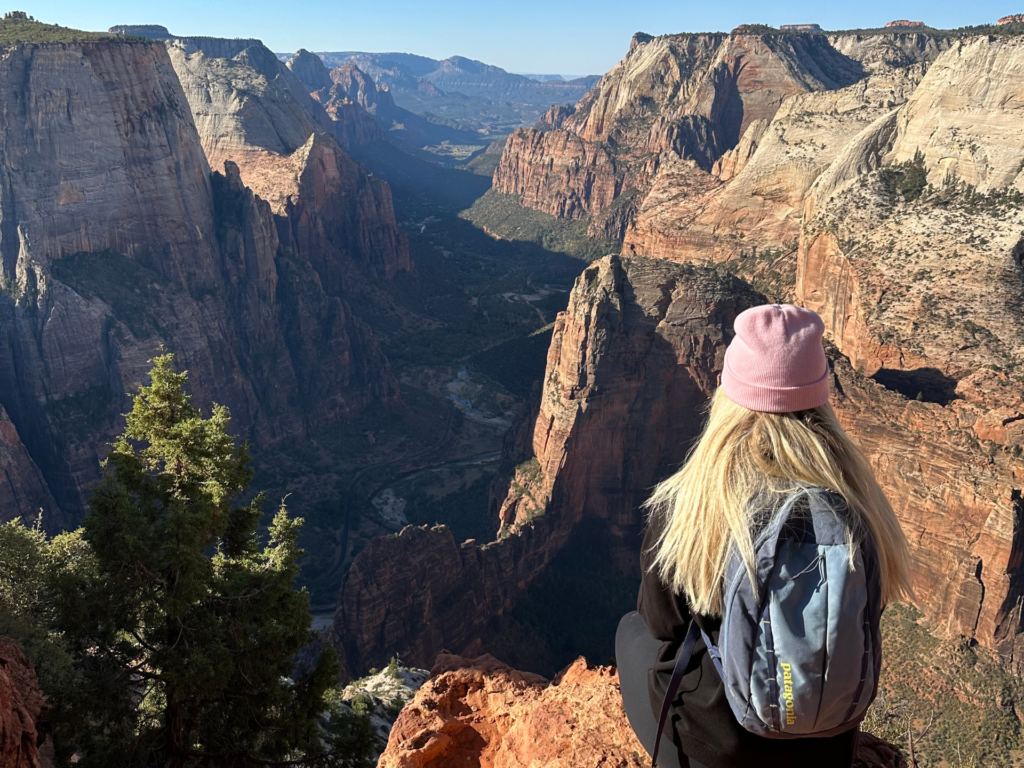
View from Observation Point
- Final thoughts on Zion National Park
- It is probably the most popular of all of Utah’s Mighty 5 so it’s tough to avoid crowds and it’s a bummer that you have to take a shuttle to get around.
- Unpopular opinion: I would rank it at 4th out of the Mighty 5 parks. The landscape is beautiful but the shuttle system is not my favorite for someone that likes to do things on her own time.
Bryce Canyon National Park
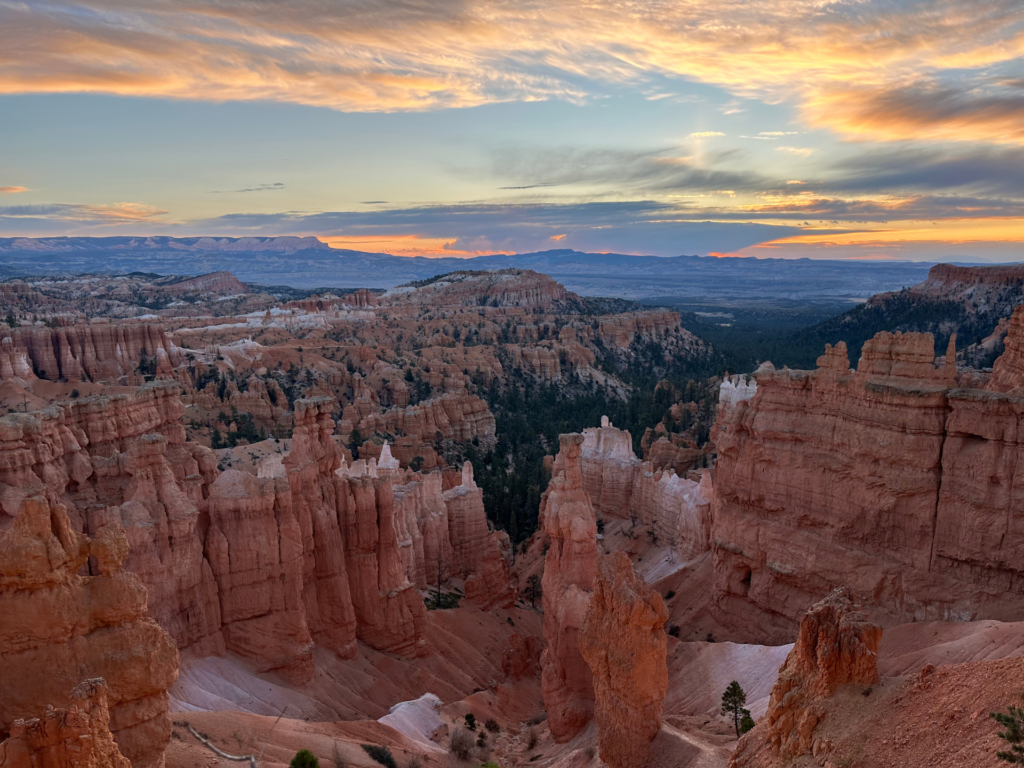
- Need to know ahead of time:
- Cost: A day pass is $35/day & good for 7 days. I’d suggest purchasing the “America the Beautiful Pass” for $80 that’s good for a year at all National Parks in the US!
- If you enter before 7am you don’t have to pay. We did a sunrise hike so we didn’t pay an entrance fee.
- Amount of time to spend in the park: 1 full day
- Reservations: No
- Open: 24 hours a day, 365 days a year
- Hikes:
- Navajo Loop & Queen’s Garden: This trail has views of all the unique rock formations that Bryce Canyon has to offer. This trail takes you by some of the park’s most iconic features like Queen Victoria and Thor’s Hammer. My advice is get to the park for the sunrise and watch it from Sunset Point (the views are better here than Sunrise Point in my opinion). Then do this fairly easy loop trail as the sun is coming up. The trail starts to get busy by mid-morning. Full hike details here.
- Distance: 3 miles Loop
- Level: Easy to Moderate
- Pack: Water, sunscreen, snacks
- Fairyland Loop: If you’re looking for more of a challenge, then check out Fairyland Loop! It will take you through spectacular hoodoos and scenery along the rim and into the canyon; including a spur trail to Tower Bridge. This trail will get you away from crowds because of it being a harder trail. Full hike details here.
- Distance: 7.9 miles Loop
- Level: Hard
- Pack: Lots of water, sunscreen, snacks
- Sunrise Point: This is a very easy hike with rewarding views! Full hike details here.
- Distance: 0.4 miles, Out & Back
- Level: Easy
- Pack: Water, snacks to enjoy at the viewpoint!
- Peakaboo Loop: Some of the best views of Bryce Canyon can be seen here and this hike is a great way to get views of the hoodoos from topmost rim points! Full hike details here.
- Distance: 5.2 miles Loop
- Level: Moderate – Hard
- Pack: Lots of water, sunscreen, snacks
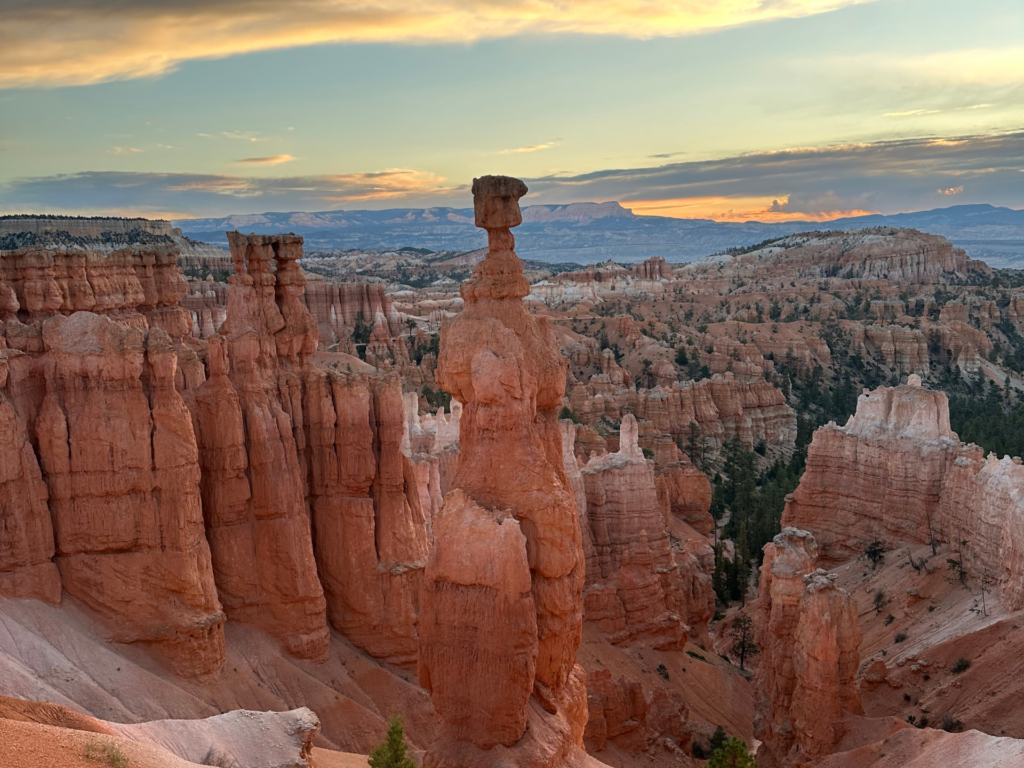
Thor’s Hammer from the Navajo Loop & Queen’s Garden Trail
- Viewpoints
- Fairyland Point: My favorite view of the park and the surrounding landscape in the distance!
- Bryce Point: Insane views of so many hoodoos & Bryce Amphitheater. The parking lot is small so you might not get a spot the first time you try to go but when we went back again, we were able to get one.
- Paria View: This one I could have skipped. If you have time it will be a very quick stop but if you don’t, go ahead and pass on this viewpoint.
- Sunset Point: Go here for sunrise AND sunset!
- Sunrise Point: Has great views but if you’re going for sunrise, be prepared to be around a lot of people
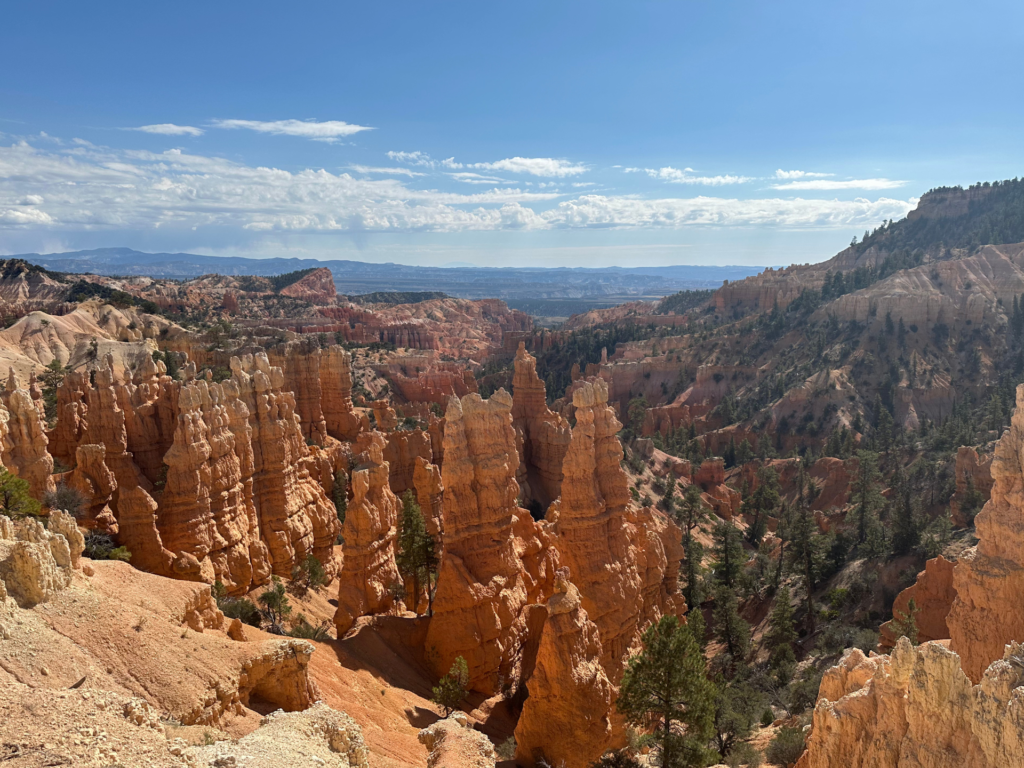
View at Fairyland Point
- Final Thoughts on Bryce Canyon:
- This landscape was so unique compared to anything I’ve ever seen in my travels that I spent much more time at each viewpoint than I normally would.
- If you want to do multiple hikes, then you could spend more than 1 day here but you should be able to cover the entire park in a day even with a couple hikes if you start early!
- Bryce Canyon was my FAVORITE of Utah’s Mighty 5. It gets the 1st place prize based on the unique landscape, being able to drive easily to every spot you want to go, & the different hikes it offers. I wasn’t sure what to expect from Bryce Canyon but it definitely exceeded my expectations!
Capitol Reef National Park
- Need to know ahead of time:
- Cost: $20 to drive the Scenic Drive, valid for 7 days. It is FREE to drive through the park on Highway 24, which is what we did. I’d suggest purchasing the “America the Beautiful Pass” for $80 that’s good for a year at all National Parks in the US!
- Amount of time to spend in the park: 1-2 days
- Reservations: No
- Open: 24 hours a day, 365 days a year
- Hikes:
- Cassidy Arch Trail: This trail takes you to a viewpoint of Cassidy Arch, and you are able to walk out on top of the arch! You do have to do some scrambling and be okay with heights for this trail! There is no shade so you are very exposed to the elements. Full hike details here.
- Distance: 3.1 miles Out & Back
- Level: Moderate
- Pack: Lots of water, sunscreen, snacks
- Chimney Rock Trail: The hard part of this hike is right at the beginning as you climb up switchbacks for the first quarter-mile & then it becomes a moderate loop hike. You’ll have views of Chimney Rock and panoramas from the top of the mesa along the edge of the Waterpocket Fold! Full hike details here.
- Distance: 3.3 miles Loop
- Level: Moderate to Hard
- Pack: Lots of water, sunscreen, snacks
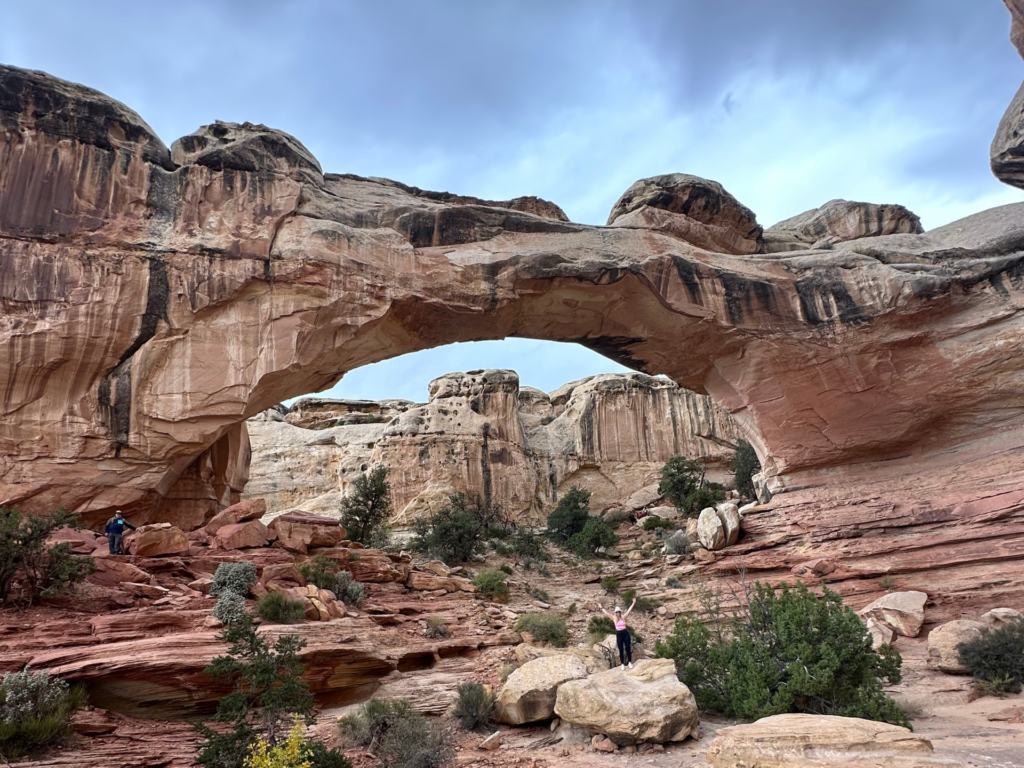
- Hickman Bridge Trail: This is a very relaxing and scenic trail. A trail brochure – available at the trailhead – points out 17 things to observe along the hike at various interpretive zones. I felt like this hike gives you a lot of bang for your buck. Great views and different landscapes to admire throughout the whole trail! Full hike details here.
- Distance: 1.7 miles, Out & Back
- Level: Easy
- Pack: Water, sunscreen
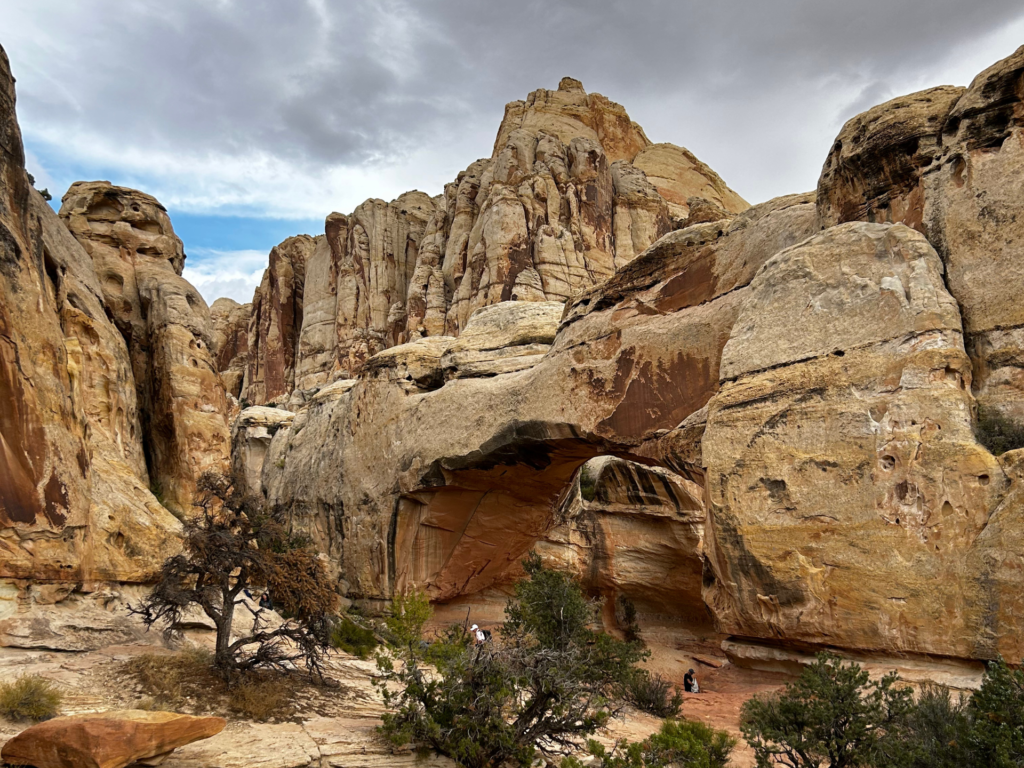
Hickman Bridge Trail
- Other sights
- Cathedral Valley: Head to the northern tip of Capitol Reef and into Cathedral Valley to see attractions like the Temple of the Sun and Temple of the Moon. We were unable to make it to this area because you need a high-clearance vehicle. It’s a rougher drive and does include going over river passes. And as with all unpaved roads in the Utah desert, this route can be impassable when wet, so keep an eye on the weather forecast.
- Bentonite Hills: Along the way to Cathedral Valley you’ll see Bentonite Hills. There are a few different locations to see Bentonite Hills in Utah but this is one of the major spots. The Bentonite Hills are softly-contoured, banded hills in varying hues of brown, red, purple, gray, and green. Repeated cycles of absorbing water and then drying results in a popcorn-like appearance on the clay’s surface.
- Behunin Cabin: Right off of HWY 24 sits a cabin built in the 1800s. It has some unique history so do a quick stop to read up on it and check it out!
- Panorama Point: Great views of the park from the West side
- Petroglyphs: There are signs to pull off and see petroglyphs and I recommend doing so!
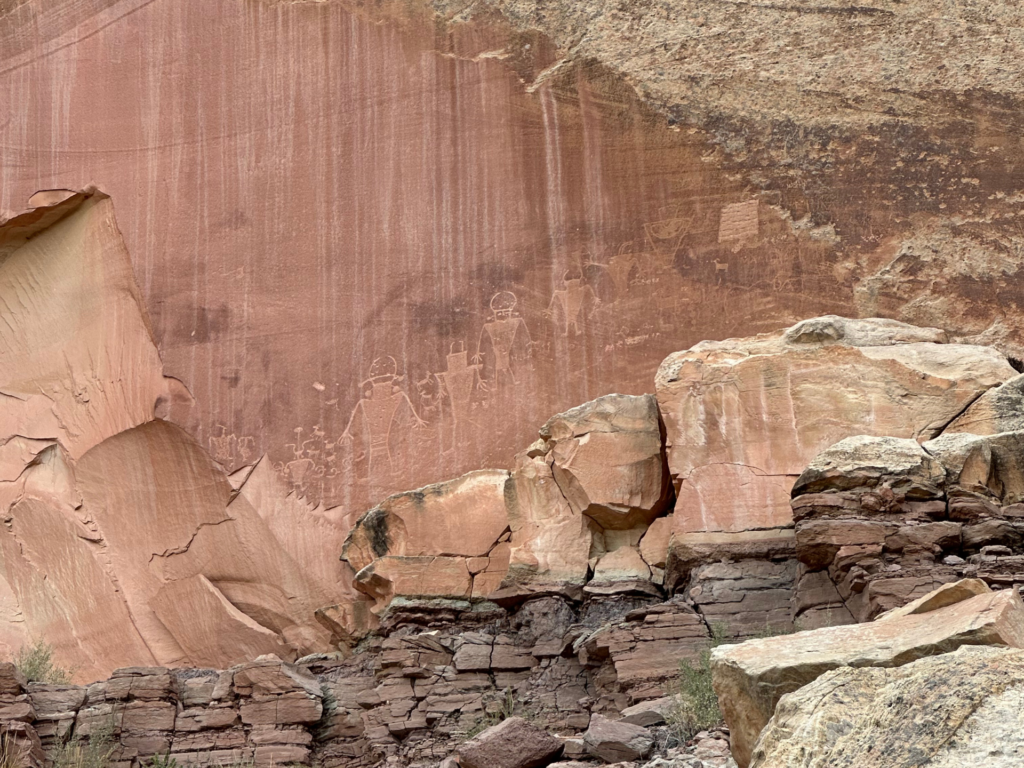
Petroglyphs right off of HWY 24
- Final Thoughts on Capitol Reef:
- The drive from HWY 24 changed my view of this National Park instantly. Instead of describing it, I’m going to tell you to go out and see it for yourself because the landscape is dramatic and changes constantly. You will be staring out your window the entire drive.
- We didn’t spend enough time exploring this park because we weren’t expecting it to be so amazing so I highly recommend packing an entire day full of activities, sight seeing, hiking, & driving so that you don’t feel like you missed out on anything or plan on spending 2 days here!
- Since it is a bit out of the way from the other National Parks, Capitol Reef wasn’t quite as busy so that was a wonderful added bonus.
- I would rank Capitol Reef as 3rd of Utah’s Mighty 5!
Arches National Park
- Need to know ahead of time:
- Cost: A day pass is $30/day & good for 7 days. I’d suggest purchasing the “America the Beautiful Pass” for $80 that’s good for a year at all National Parks in the US!
- Amount of time to spend in the park: Half day – Full day
- Reservations: Yes! From April 1 – Oct 31, there are timed entries (cost $2) to get into the park from 7am – 4pm. You do not need a reservation if you go outside of those hours. Find out more information about reservations here.
- Open: 24 hours a day, 365 days a year
- Hikes:
- Delicate Arch Trail: This trail will take you to the most famous & recognizable arch in the park, Delicate Arch! It is the largest free standing arch in the park. Also the arch that is on Utah’s license plates. Due to all of this, it is a very popular hike. The best time to see the arch and get great photos is at sunset, but if you want to beat the crowds, do it at sunrise! Full hike details here.
- Distance: 3.2 mile Out & Back
- Level: Moderate
- Pack: Water, sunscreen, snacks
- Devils Garden Trail: Devils Garden is a popular & challenging hike at the northern end of the park. You have incredible views of unique arches, including Landscape Arch, which is one of the longest natural spans in the world. Full hike details here.
- Distance: 7.9 miles Loop
- Level: Hard
- Pack: Lots of water, sunscreen, snacks
- Sand Dune Arch to Broken Arch Loop: On this trail you’ll get to see two of the most iconic arches, Sand Dune Arch and Broken Arch. There are sweeping vistas of rock formations and deserts. Along the trail, you will also pass by Devil’s Garden Campground and Tapestry Arch. The trail is dry, with some sandy sections; some areas require scrambling up rocks. A lot of people go to Sand Dune Arch and then Broken Arch and turn around. If you want to continue, you’ll climb through Broken Arch to continue on to Tapestry Arch. This part of the trail does not have as much foot traffic and can get a little confusing so watch for the rock cairns so you know you’re going the right way if you aren’t following a GPS! Full hike details here.
- Distance: 2.8 miles Loop
- Level: Easy
- Pack: Water, snacks
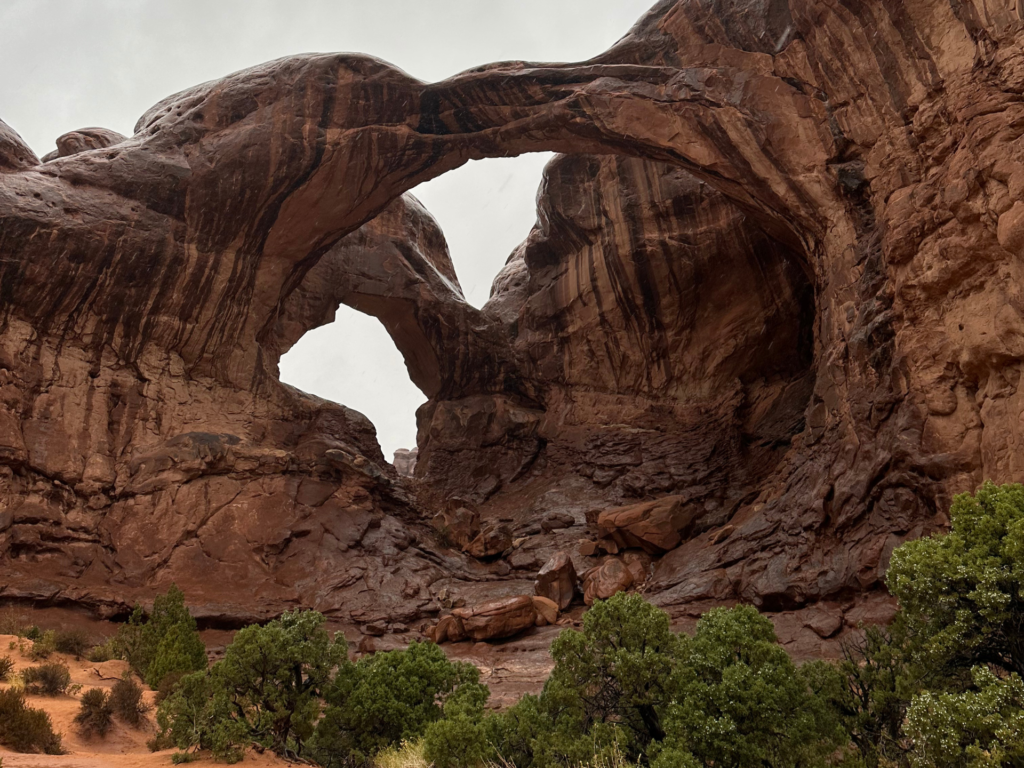
- Double Arch Trail: This a short walk from the parking lot to see a massive Double O Arch rock formation. You can climb to the base of the arches but it’s a little bit of a scramble so watch your footing! Full hike details here.
- Fiery Furnace: The Fiery Furnace is a natural labyrinth of narrow passages between towering sandstone walls. To enter the Fiery Furnace, you have to get a self-guided exploration permit or do a ranger-guided hike. Find permit info here.
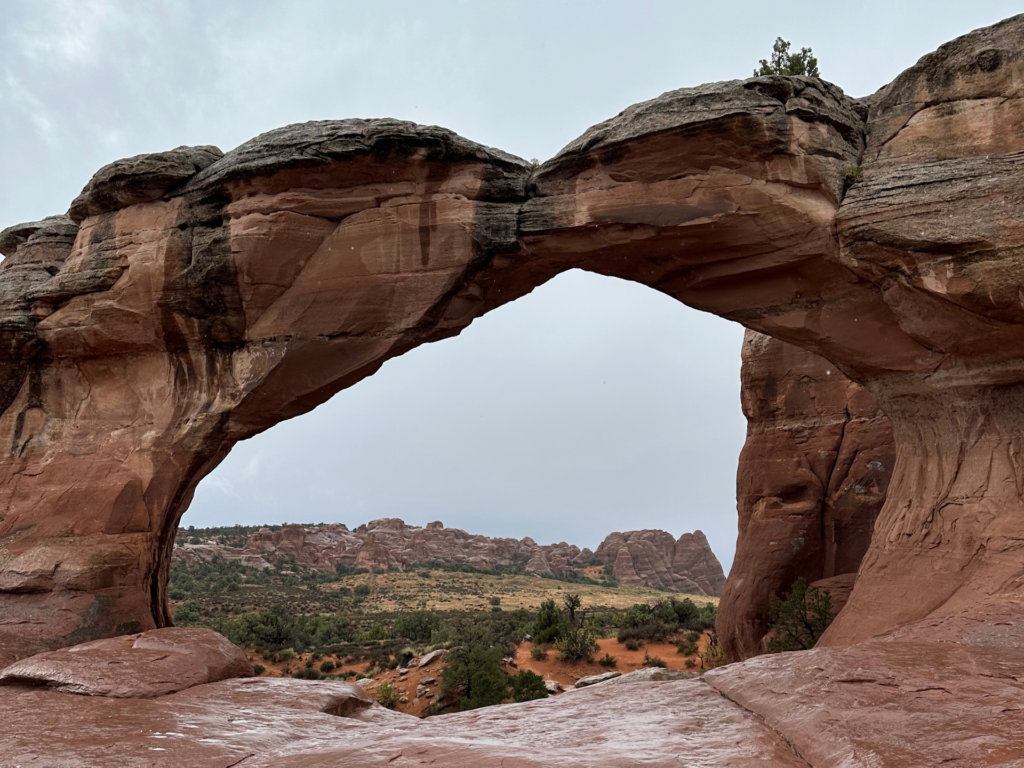
Broken Arch on the Sand Dune Arch & Broken Arch Loop Trail
- Other sights
- Garden of Eden, North & South Window are all great spots to stop
- La Sal Mountains Viewpoint: On a clear day, these mountains stick out like a sore thumb compared to the rest of the landscape
- If you don’t want to hike to the popular Delicate Arch you can get different views of it from “Upper Delicate Arch Viewpoint” & “Lower Delicate Arch Viewpoint”
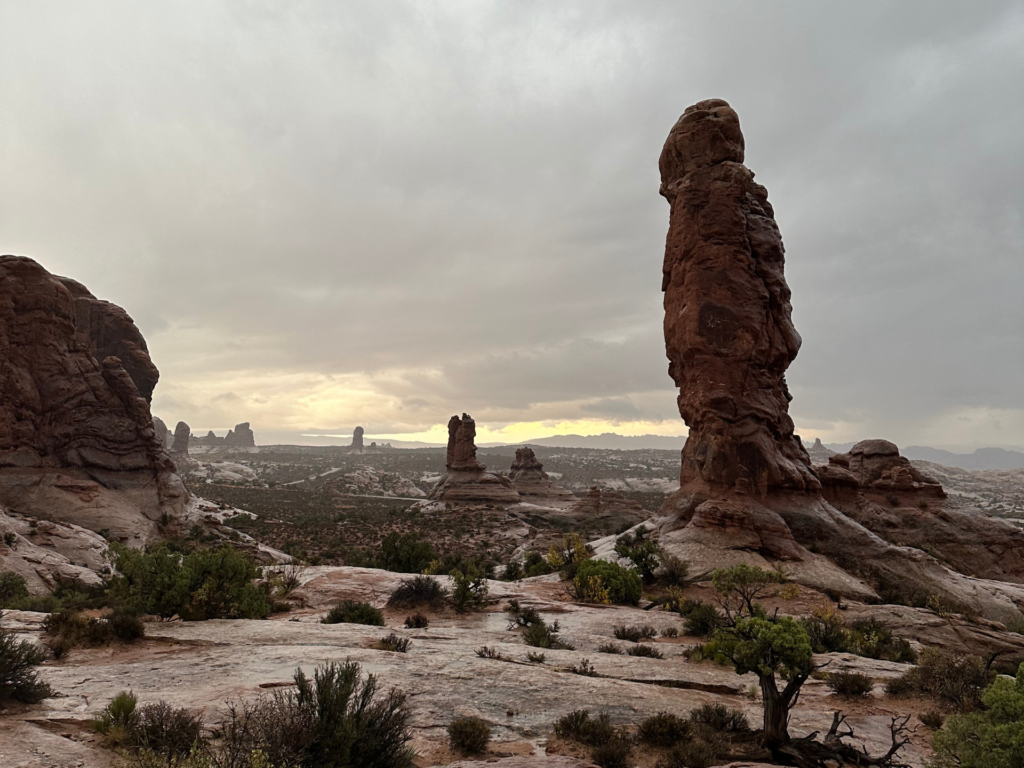
Garden of Eden
- Final Thoughts on Arches:
- This is definitely the most family-friendly park of Utah’s Mighty 5!
- I don’t think I can give a super fair judgement on this park because we had horrible weather when we were there. It rained pretty much the whole time so viewpoints weren’t as beautiful & we didn’t do as much hiking as we had planned.
- I was still underwhelmed by this park. I feel like once you see one arch, you’ve sort of seem them all. This is obviously a personal preference but the landscape just wasn’t as diverse or unique in my opinion as the other Mighty 5.
- After all of that you can probably guess that this park is rated 5th on my list for Utah’s Mighty 5. I would still recommend a visit, but probably plan on spending the least amount of time here.
Canyonlands National Park
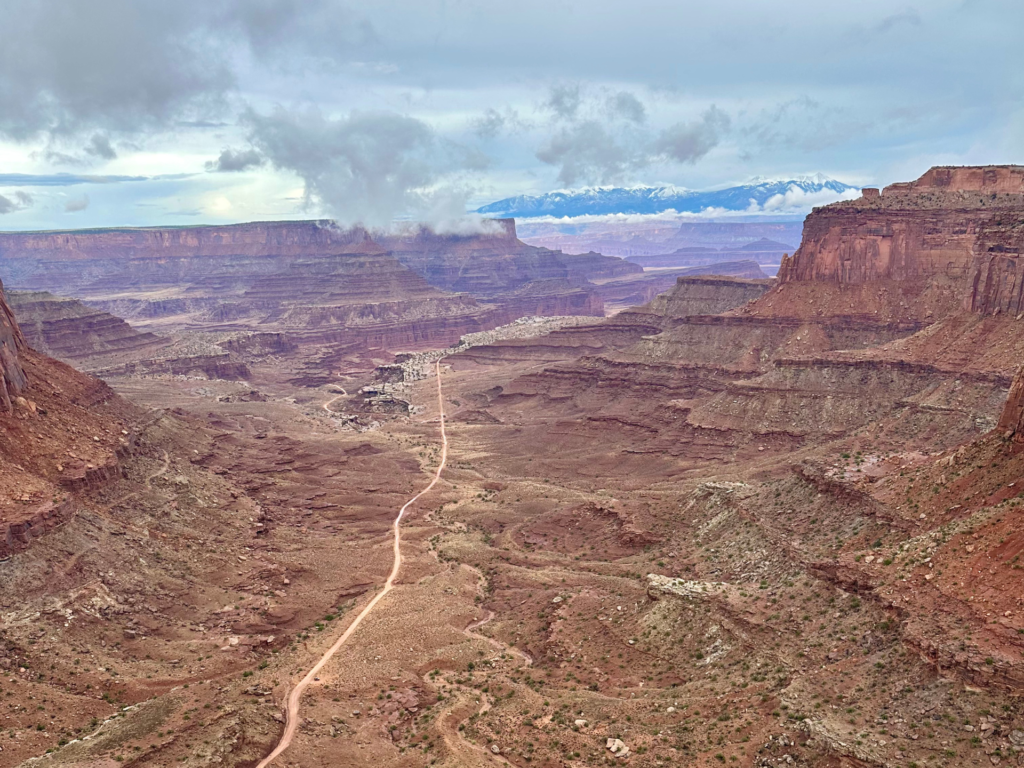
- Need to know ahead of time:
- Cost: A day pass is $30/day & good for 7 days. I’d suggest purchasing the “America the Beautiful Pass” for $80 that’s good for a year at all National Parks in the US!
- Amount of time to spend in the park: Half Day – Full Day
- Reservations: No
- Open: 24 hours a day, 365 days a year
- Canyonlands is divided into Four Districts: Island in the Sky, The Needles, The Maze, & The Rivers. The districts are not connected by roads so to get to them, you’ll have to go outside of the park and enter in a different way. Most people only visit Island in the Sky and some also go to The Needles.
- Island in the Sky is the district closest to Moab and the most visited part of the park. Scenic drives, overlooks, and short hiking trails all make the list of the best things to do here.
- The Needles district features unique sandstone rock formations and some very cool hikes. However, to get there from Moab, it is an hour and twenty minute drive.
- The Maze is a remote area of Canyonlands that is only accessible by 4×4. In order to visit this part of the park, backcountry experience is necessary.
- The Rivers: The Colorado and Green Rivers carved out the canyons of Canyonlands National Park. You can canoe or kayak the rivers north of Confluence. Both rivers merge at the Confluence and below this, you can go white water rafting in Cataract Canyon.
- Hikes – Island in the Sky
- Mesa Arch Trail: This is a great sunrise hike to the Mesa Arch that is perched on a cliff edge. The parking lot gets full by mid-morning so if you want to guarantee a spot, get there earlier. I suggest starting your day in Canyonlands here! Full hike details here.
- Distance: 0.7 mile Loop
- Level: Easy
- Pack: Water
- White Rim Overlook Trail: This trail overlooks the Colorado River, Monument Basin, and La Sal Mountains. It’s best to do in late afternoon. Very limited trailhead parking. Full hike details here.
- Distance: 1.8 miles Out & Back
- Level: Easy
- Pack: Water
- Lathrop Loop: If you want to get away from crowds and are up for a challenge this hike is for you! The route travels a couple of miles through a relatively flat meadow to get to the view. Once you get to the overlook below the rim, the trail continues down the canyon and forms the return route which heads back up. Full hike details here.
- Distance: 11.4 miles Out & Back
- Level: Hard
- Pack: Lots of water, sunscreen, snacks
- Hikes – The Needles
- Druid Arch to Chelser Park: This is a good trail combination to see both Druid Arch and the east side of Chesler Park. The route involves some scrambling and edges, but the rock formations are incredible. There are rock cairns to guide you if you don’t have a GPS. Some people skip the Chelser Park loop and just go to Druid Arch so that’s an option if you don’t feel like doing as long/hard of a hike. Full hike details here.
- Distance: 11.3 miles Out & Back
- Level: Hard
- Pack: Lots of water, sunscreen, snacks
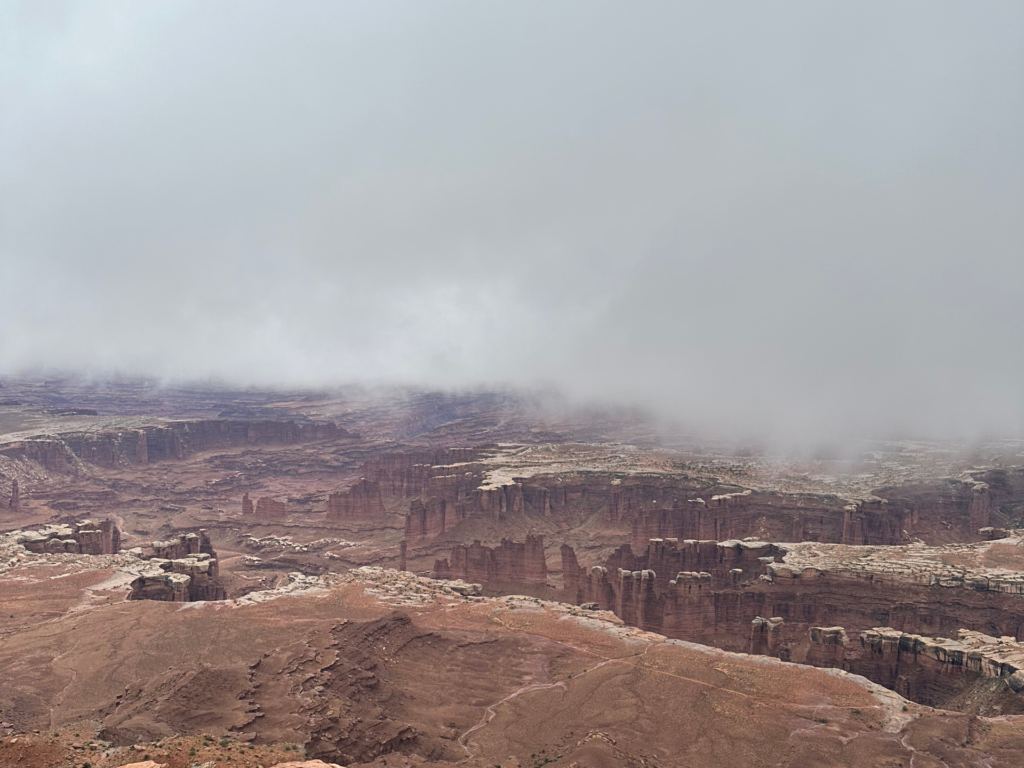
White Rim Overlook
- Other sights
- Drive Schafer Trail Road: On this route, you will drive the legendary Shafer Canyon switchbacks. You can continue on to Potash Road and drive all the way back to Moab or turn around and drive back up into the park. You don’t need a permit, but if you are scared of steep drop-offs, this might not be the road for you. They also recommend a high-clearance SUV. We spoke with a park ranger who said we could do it in our 2wd camper van but it was raining that day and he said if we want to turn around and get back up it would probably be a struggle.
- Schafer Canyon Overlook: This was my favorite view of the park. You can see the winding Schafer trail road, the canyons, & the La Sal Mountains poking out in the back, it’s absolutely breathtaking!
- Other overlooks to stop by: Grand View Point, Orange Cliffs, Buck Canyon, Candlestick Tower, Green River
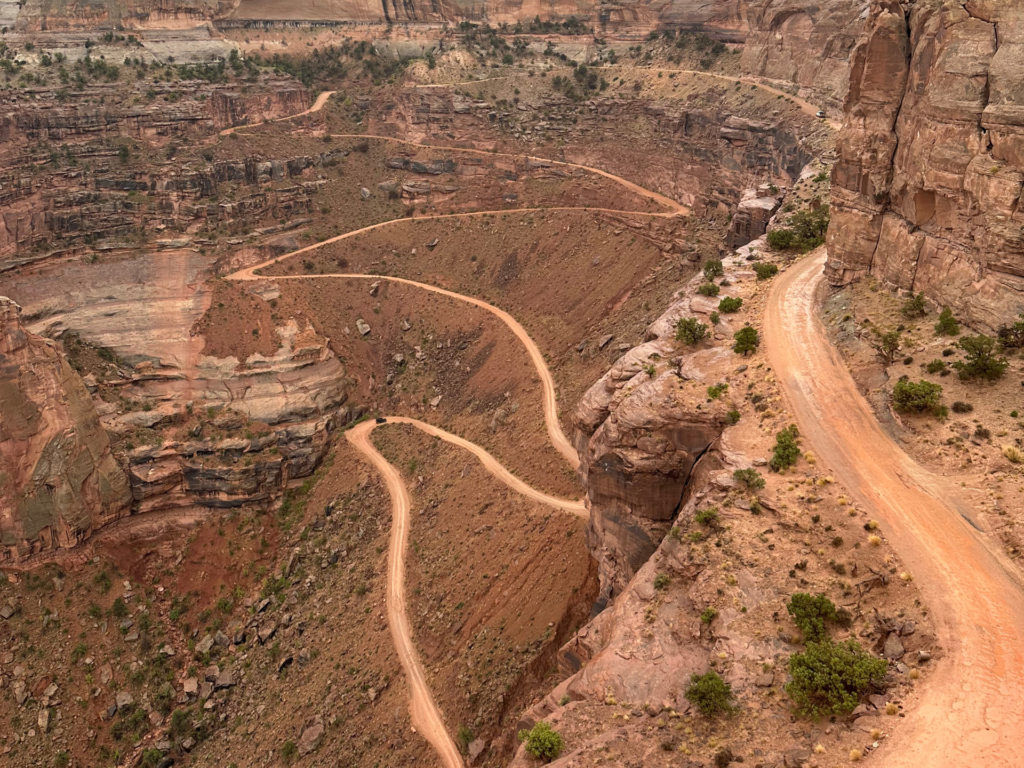
Schafer Trail Road
- Final Thoughts on Canyonlands:
- If you are traveling with kids, I’d say keep a closer eye on them at this park. There are steep drop-offs everywhere.
- The weather cleared up halfway through our day at Canyonlands and out of no where we saw the La Sal Mountains as well as more canyons we couldn’t see before with the rain/clouds. If you have flexibility in your schedule at all and there’s rain in the forecast, try to go to this park on a day where it’s clear because the entire park changed once the rain stopped. Although it was still magnificent with the rain!
- I would rank Canyonlands 2nd of Utah’s Mighty 5. The depth of this National Park goes on forever and I really enjoyed seeing the Colorado/Green River snaking through the park.
Final Ranking of Utah’s Mighty 5
- 1st – Bryce Canyon
- 2nd – Canyonlands
- 3rd – Capitol Reef
- 4th – Zion
- 5th – Arches
7 Day Road Trip Itinerary
- Day 1 – Fly into Vegas (Harry Reid International) –> Drive towards Zion ( 2 hours 50 mins), Explore Zion if you get in early enough –> Stay near Springdale, Utah
- Day 2 – Full day at Zion –> Drive towards Bryce Canyon (1 hour 50 mins) –> Stay near Bryce Canyon City, Utah
- Day 3 – Full day at Bryce Canyon –> Drive towards Capitol Reef (2 hours 15 mins) –> Stay near Torrey, Utah
- Day 4 – Full day at Capitol Reef –> Drive towards Arches (2 hours 6 mins) –> Stay near Moab, Utah
- Day 5 – Half day at Arches –> Half Day at Canyonlands (30 minutes from Arches) –> Stay near Moab, Utah
- Day 6 – Full day at Canyonlands –> Stay near Moab, Utah (Explore Moab if you have time, it’s a fantastic city!)
- Day 7 – Drive to Salt Lake City (3 hours 42 minutes) –> Fly out of SLC International Airport
- If you are going for more than 7 days, I recommend checking out some of these other amazing spots in Utah that are outside of the National Parks!
- If you are going for less days, then I would say you could do one day each at Zion, Bryce Canyon & Capitol Reef, and a half day at Arches & Canyonlands!
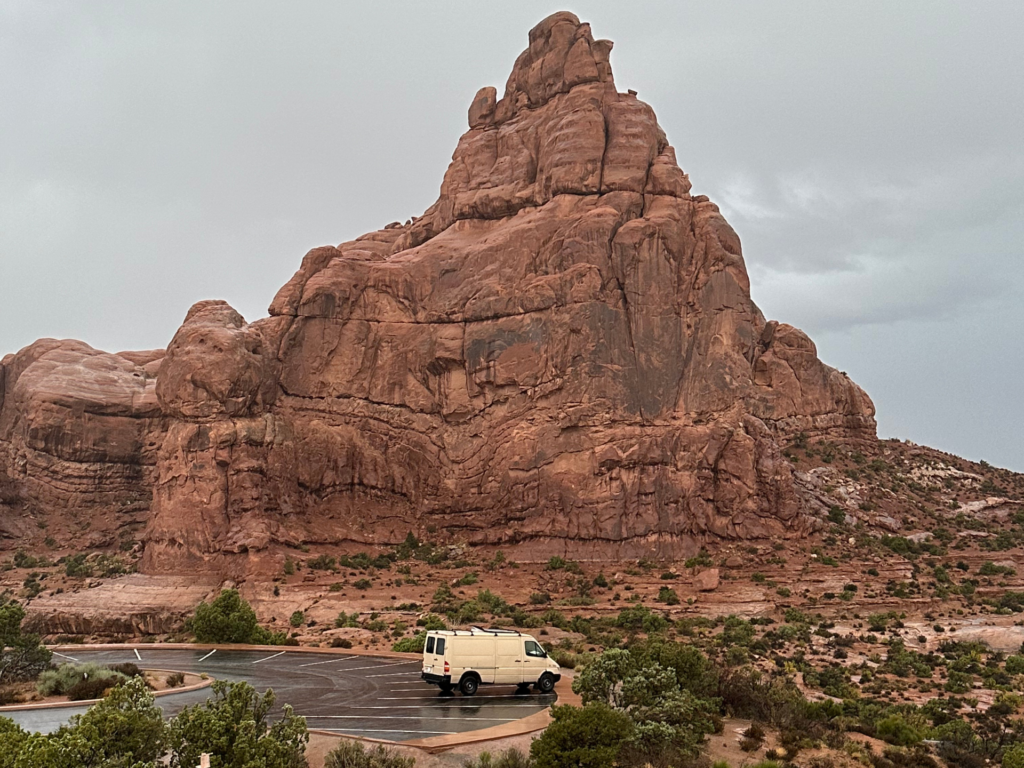
National Park Essentials!
- Hiking boots – I love these Columbia boots. I’ve had them for 5 years and used them on numerous hikes and they are still practically brand newa
- Hiking pants – These Kuhl hiking pants are comfortable as well as durable!
- Backpack
- For shorter hikes, under 6 miles: 10L backpack
- For medium to long hikes, 7-20 miles: 20L backpack
- For long hikes to overnight camping hikes: 50L backpack 0r 65L backpack – These backpacks are more expensive but your back will be so grateful to you for spending the extra money on it because the difference between a cheap versus quality backpack is insane. A backpack with good support and comfortable straps will make a world of difference for your hike/camping trip.
- Hiking poles – These collapsable poles are the best for when you don’t need them and can pack them into your backpack
- Water Bottle – The general rule of thumb for water is to take about 1 liter of water for every 5 miles that you’re hiking so make sure you pack enough!!
- Headlamp – If you want to do a sunrise hike or are attempting a really long hike that requires a 5am start, a headlamp is super important!
- Protein bars – These Barebell Protein Bars are my absolute favorite. They taste like a candy bar but the macros in them are fantastic! (The cookies and cream flavor is my favorite)
- Portable charger – If you’re taking lots of videos and pictures or are on a super long hike, you absolutely need a portable charger!
- Sunscreen and Bug Spray – Don’t forget to reapply both if you jump into any lakes or bodies or water!
- Leggings – These are a LuluLemon Align dupe that are only $32!
- Hiking socks – I never understood the importance of hiking socks until I started doing tougher/longer hikes. They protect your ankles from scratches and bugs!
- Sun Hat – My boyfriend doesn’t do a hike without his hat
- Hammock/Hammock straps – Okay this is definitely not a necessity but if you have room to carry one, there’s a great chance once you reach the top of your hike, you’ll be able to find some good spots to hang a hammock and relax for a bit
- Other snacks I like to pack: almonds, trail mix, dried fruit, PB&J sandwiches, fruit snacks, beef jerky – make sure you clean up after yourself and leave no trace!!



Very good blog! Do you have any recommendations for aspiring writers? I’m planning to start my own blog soon but I’m a little lost on everything. Would you propose starting with a free platform like WordPress or go for a paid option? There are so many options out there that I’m totally overwhelmed .. Any suggestions? Bless you!
WordPress is what I work with and would recommend!